
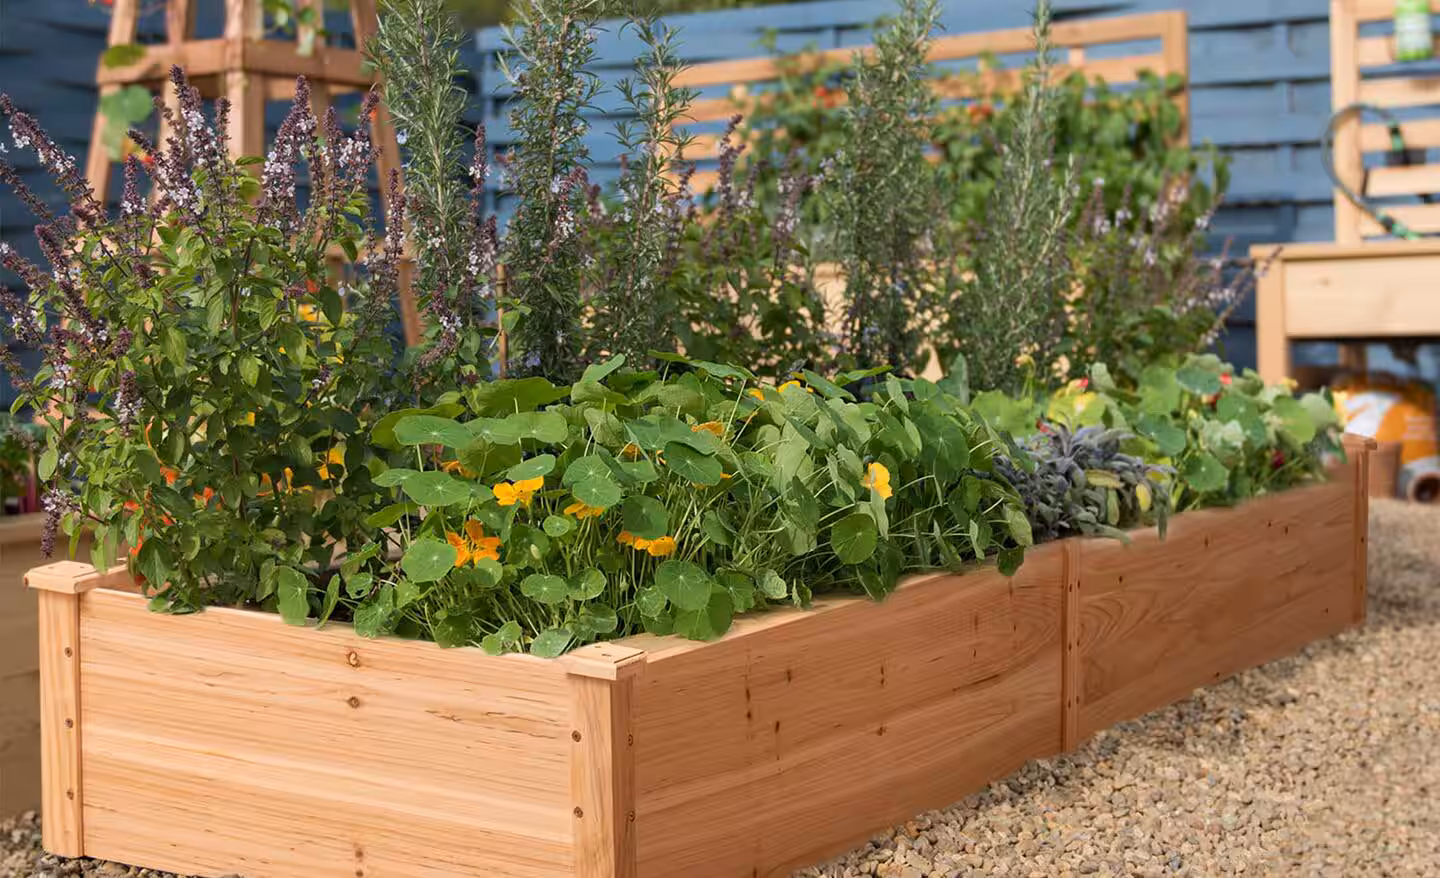
If you’re into gardening and want to make things easier, raised garden beds are pretty awesome. They help with drainage, so your plants’ roots won’t get all soggy. You can also control the soil quality way better.
Plus, they make it easier on your back since you don’t have to bend down so much. This means gardening takes less time and effort, which is great for getting a healthy garden without too much hassle.
With raised beds, your plants can grow strong, and you’ll get a better harvest without breaking a sweat.
Choosing the Right Location
Picking the right place for your raised garden bed is a big deal if you want your plants to thrive. Look for a spot that gets loads of sunshine—like 6 to 8 hours a day. This helps your plants grow strong.
Make sure the ground’s flat so water spreads out evenly, and good drainage is key to stop your plants from drowning. Stay away from trees or big bushes since their roots might steal the nutrients your plants need.
It’s handy if you’re near a water source, making watering easier and saving you some hassle. Also, think about how windy it is, so your plants don’t get battered by the weather. Mark out the area so you’ve got a clear picture of how big your garden bed will be before you start building.
Selecting Durable and Safe Materials
If you’re setting up a raised garden bed, picking the right stuff is key for making it last. Go for durable and safe things like untreated wood, stone, or metal to keep your plants safe. Stay away from treated wood since it might leak bad stuff into the soil and mess with your plants.
Figure out what you need based on your garden’s size, especially the height, ’cause that affects how deep you can plant. Specialised gardeners often recommend untreated hardwood for longer-lasting beds that won’t affect your soil’s health.
Check out local places for supplies to save cash and cut down on delivery costs. Also, if you can, reuse old stuff to save money and cut waste. It’s a win-win for your budget and the planet!
Measuring and Marking the Dimensions
Getting your garden bed to the right size is super important for your plants to do well. Start by marking the spot with some stakes and string, so you know where it’ll go.
A rectangle shape works best ’cause it makes planting easier. Just grab a tape measure to check the lengths and widths, and stick a stake in each corner to help you when you’re digging.
It’s a good idea to make the bed at least 12 inches high, so the roots have room and water drains well. Double-check those measurements to avoid mistakes down the line. This step is key to making sure your garden bed is just right for your plants to thrive.
Preparing the Ground
Making sure your raised garden bed is set up right starts with getting the ground ready. First, dig out the spot where your bed will go, and clear away any grass and weeds. This’ll stop unwanted plants from popping up later.
Try to dig about 12 inches deep so water drains well and roots can spread out. After digging, loosen up the soil at the bottom for even better drainage. If the soil’s hard, using a garden fork can help break it up.
Once you’re done, toss away the soil and plants you pulled out, but do it responsibly. Spending time on this step now means less work later and a great spot for your plants to grow. So, take your time with this part because it makes a difference for your garden bed.
Assembling the Frame
Start by building a strong base for your raised garden bed using screws or brackets. Make sure the corners are connected well so it’s nice and sturdy. If you’re using wood, drill some holes before adding screws to stop it from cracking, which helps it last longer.
Lift the frame a bit off the ground with blocks or stones for better drainage. After putting it together, use a level to check it’s all even, so the soil doesn’t settle weirdly. It’s a good idea to reinforce the corners, especially if the bed’s tall, to keep it strong and support your plants.
By putting your frame together carefully, you’ll have a garden bed that lasts and works great for your plants.
Filling the Bed with Soil
Getting the soil mix right for your raised garden bed is super important for your plants’ health. Good soil doesn’t just feed your plants; it also helps with drainage and keeping the right amount of water in.
Start by putting some gravel at the bottom. This helps water drain well and stops it from sitting there, which can harm the roots. Next, mix up some topsoil, compost, and peat moss. This combo is great because it keeps your plants nourished and holds in moisture.
Fill your bed with about 10 inches of this mix, but leave a bit of space at the top so water doesn’t spill over. Mix it all well so your plants’ roots can grow strong. Also, think about using compost from local places. It’s usually cheaper and helps out the local businesses too
Planting in Your Raised Garden Bed
Alright, once your garden bed’s ready, it’s planting time! Think about whether you’re using seeds or baby plants, and how you’ll place them—rows or little groups. Make sure to give them space. Like, carrots need about 3 inches apart, but tomatoes like a roomy 24 inches.
After planting, give them a good watering to help them settle in. Spread some mulch around to help them grow and keep weeds away.
It’s handy to keep a planting schedule and try switching up your plants each year to keep the soil healthy. Keep an eye out for any pests or diseases so your garden stays in tip-top shape!
Conclusion
Raised garden beds are pretty awesome for gardeners in the UK. They make life easier by helping with drainage and keeping the soil in good shape, so there’s less work to do.
Try sticking to a planting schedule and using mulch to keep the soil wet and stop weeds from taking over. Playing around with different plants can be fun and keeps the soil happy, too.
Keep an eye on how your soil’s doing and tweak your care routine now and then to keep your garden going strong. Enjoy growing your fresh veggies and feel good about doing your bit for the environment!