
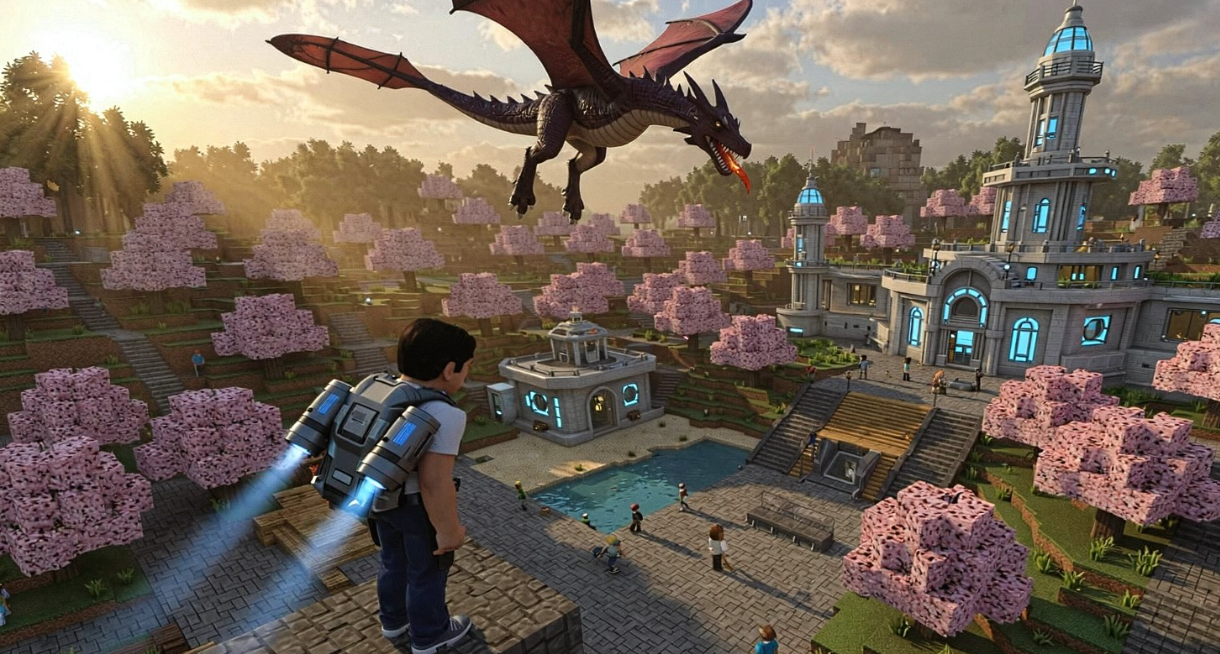
Modding Transforms Minecraft
Modding transforms Minecraft fully. Do you want dragons or prettier sunsets? Mods make it happen. Here’s how to get mods for Minecraft PC without getting lost. Skip long tutorials. This video shows Minecraft how to quickly add mods. We’ll talk about how to get mods for Minecraft using CurseForge, and the best Minecraft mods that actually work. No need for a tech degree. Follow along like we’re on Discord. Works with versions 1.19 and up.
Getting Your PC Ready for Mods (2 Minutes)
Before you start modding, check Java is set up. Open the command prompt and type “java -version.” You will need this. Java 17 or later. Most players already have it from vanilla Minecraft. Your game version is important too. Mods made for 1.20 won’t work with 1.19.
“Two minutes of setup keeps crashes from happening for hours.” After fixing broken installations for countless players in YouTube comments and Planet Minecraft forums, prop “Setting up Java is still the most important step that people miss.” What are the RAM requirements? You will want 4GB. At least 6GB, however, runs multiple mods smoother. That’s all there is to it. Nothing scary here.
Choose Your Mod Loader: Forge vs Fabric
Before you can install anything, you need a modloader. Think of it like choosing between Chrome and Firefox—both let you browse the web, but in different ways. Forge has thousands of compatible mods that make it the best. It is needed by most big content packs. Fabric runs lighter, loads faster, and is perfect for performance-focused players.
Begin with Forge. It’s easy math: 80% of mods support it. You can get more variety on CurseForge, better tutorials, and fewer compatibility headaches. Fabric shines for specific uses though. Are you running on potato hardware? Fabric saves important RAM. Want to know about cutting-edge optimization mods? Fabric gets updates first. Beginners should get Forge, try things out, and then consider Fabric later if performance is important. Both installations are the same: download, run the installer, and choose the version. It might take three clicks in total.
Installing Forge in 3 Easy Steps
Go to Forge’s official website and download the installer that matches your game version. Run it, choose “Install Client” (which is already chosen), and then click OK. The installer takes care of everything by itself. It takes 30 seconds to get to a decent internet connection.
Common hiccup: “Java not found” error? Check to see if you have installed it in your Java folder. Program Files/Java/jdk-17. Does Windows Defender block it? Click “More info” then “Run anyway”—it’s safe.
After you’re done, open your launcher. In the dropdown, you’ll see a new “Forge” profile. Choose it and press play. First launch takes longer while Forge gets ready.
Installing Fabric (The Lightweight Option)
Installing Fabric is faster than installing Forge. Boot times drop from 45 seconds to 15 seconds. Great for testing mods or old hardware. Developers love Fabric because it has clean code. It only takes three clicks to install. Run the Fabric installer and choose your game version. Fabric needs its API, which is placed separately. It takes five seconds. First, put the Fabric API in your mods folder. Performance mods like Sodium and Iris only work with Fabric. Your FPS goes from 60 to 200+. That’s why speedrunners like it.
Where to Look for Mods That Actually Work
Finding safe mods to work with starts with trusted platforms. Modrinth has more than 75,000 creations, and the most popular ones have been downloaded 1.63 million times. Their filters and lightning-fast search save you time. CurseForge remains the classic choice, especially for Forge users.
Finding real downloads? First, make sure the versions are compatible. Mods clearly show which versions of Minecraft they work with. Real sites provide download counts, user reviews, and update dates. Don’t ask any site for surveys or passwords.
Don’t bother with random Google results that say “free Minecraft mods.” Those often hide malware. Stay away from other games, official forums, and YouTube creator links. It always works, I promise.
The 5 Best Mods for Beginners
Begin with the basics that change the game and fix real problems: OptiFine instantly doubles FPS. Computers that run on potatoes become gaming machines. Press C to zoom in.
JEI shows every recipe without alt-tabbing. Press R on the items to get crafting info right away.
Trip Map keeps track of all the places you’ve been. Waypoints help you not get lost.
Iron chests hold four times as much as regular chests. There are 108 stacks in diamond chests.
WAILA tells you what block you’re looking at.
These five things make the game more fun without being too much. Each fix takes care of the daily problems that Minecraft players have. Before you add complicated changes, make sure you have the right starting point.
For players who want to run these mods on a server, choosing the best minecraft mod hosting ensures smooth gameplay, compatibility, and fewer crashes when adding multiple mods.
Putting in Your First Mod (The Fun Part)
Okay, this is where it gets good. You have downloaded your mod file. Now what? Look for your mods folder. Press Windows + R and type %appdata%.minecraft\mods and hit enter. No folder? Make one for yourself. Drop your downloaded .jar files straight in. That’s all. No extractions, no special wizards. Simply drag and drop.
Open your launcher, choose your Forge or Fabric profile, and then hit play. You will see your mod name on the loading screen. First boot takes longer because everything has to load. Did something break? Game crashes? You need another mod first if you get a “missing dependency” error. Check the mod page for what you need. Black screen? Wrong version—check compatibility again. Try another mod file after deleting the first one. Your world is safe.
Common Problems and Quick Repairs
“Exit Code 1” shows up when the game crashes? Those mods don’t work together. Remove any new files from your mods folder and restart. Almost always works.
“Missing dependency” pop-up means that your mod needs another mod first. Requirements are clearly listed on the download page. Grab those, and then put them back in.
Version mismatch crashes everything. Running 1.20.1 mods on 1.19.4? It won’t work. Find the same numbers or the most recent versions on CurseForge.
When two mods fight, it makes things messy. Two mods changing villagers? Crashed instantly. Take one out, test it, and keep doing it until it works. You’re not the only one that has to deal with this at first.
How to Get Modpacks to Work
Running many mods together? Begin with small things. Three is better than thirty. Check the mod pages for known conflicts. Creators warn about combinations that don’t work together.
Sometimes the order in which things are loaded matters. Last to load are resource packs, and middle to load are content mods. APIs first. Most launchers do this on their own.
It only takes a few seconds to check for compatibility. Do both mods change villagers? Choose one. Two add copper? Expect duplicates. Performance modes clash—Sodium hates OptiFine.
Modpack launchers make everything easier. They pre-test combinations, deal with dependencies, and manage versions. It saves time to fix problems. Popular packs on CurseForge are ready to play.
You’re Ready to Mod—What’s Next?
You’ve mastered the basics. Start with three mods, get used to them, and then add more over time. The community is behind you—there are helpful players on Reddit threads, Discord servers, and YouTube comments.
Try things out. Combine things in ways you didn’t expect. Your perfect setup is here. Stuck? Someone figured it out. Found some great combos? Put them on Planet Minecraft or Modrinth. That’s how communities get bigger.
Now go make something great.